


This tutorial guides you through creating a lace pattern in Pocket Styler Studio, starting from basic shapes and transforming them into a beautiful, customizable lace texture. This method works perfectly for adding intricate lace patterns to items like tights, dresses, or any other fashion piece in the game.
Step 1: Set Up Your Workspace
- Choose a Base Item
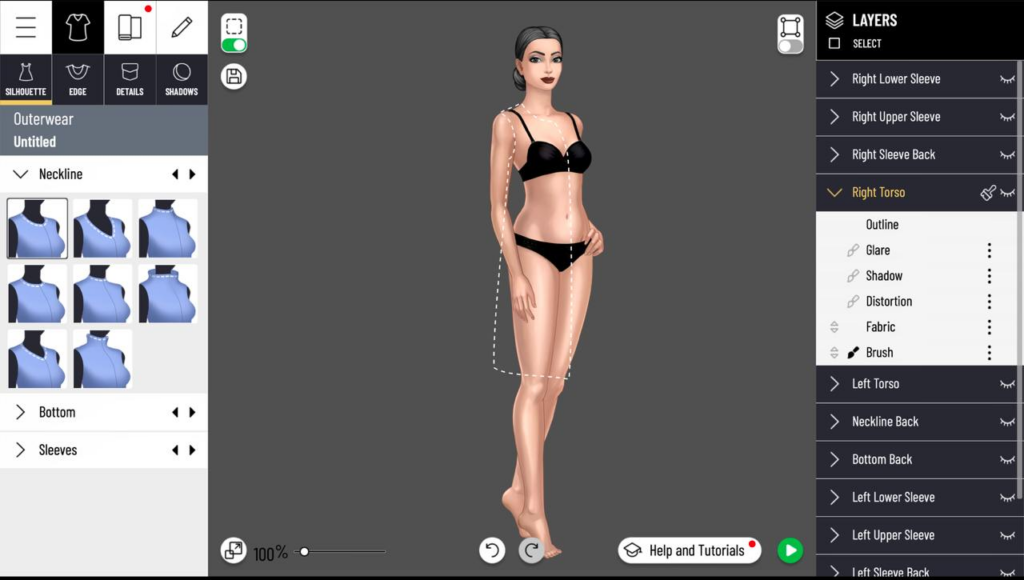
- Start by selecting a coat in Pocket Styler Studio. We’ll be drawing on this coat initially because it provides a stable, symmetrical workspace.
- Hide Extra Details
- Remove any existing details on the coat and create a transparent square across the entire canvas. This will be your drawing area.
- Adjust the Brush and Square Settings
- To make drawing easier, lift the brush to the top layer in the Layers menu. For cleaner visibility, hide the model temporarily.
Step 2: Create the Foundation of the Lace Pattern
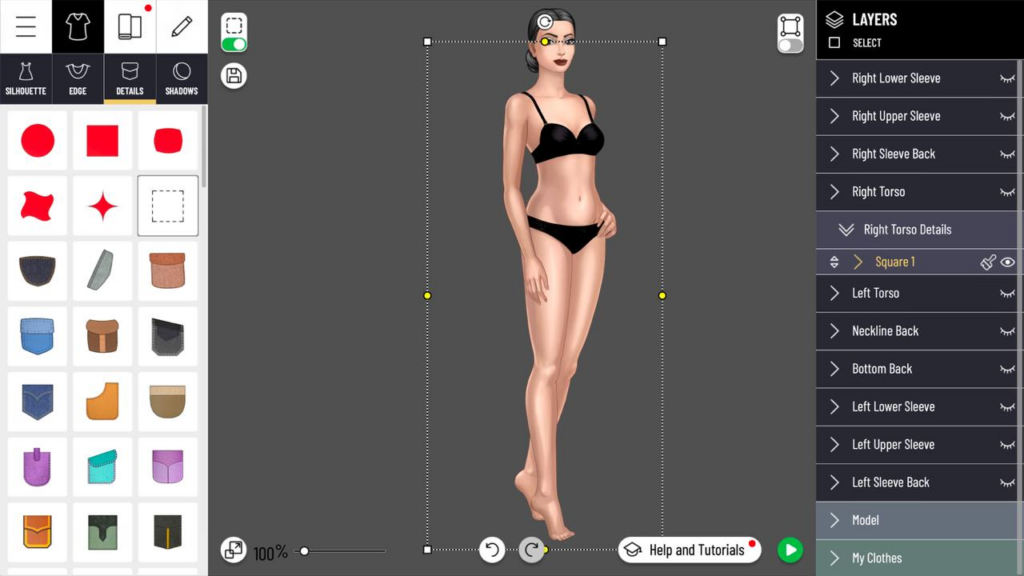
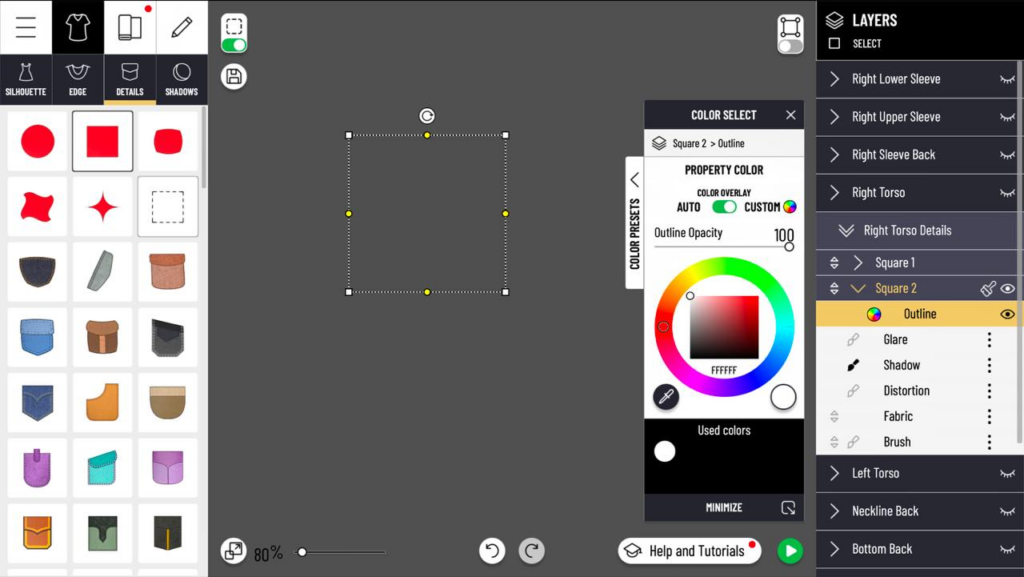
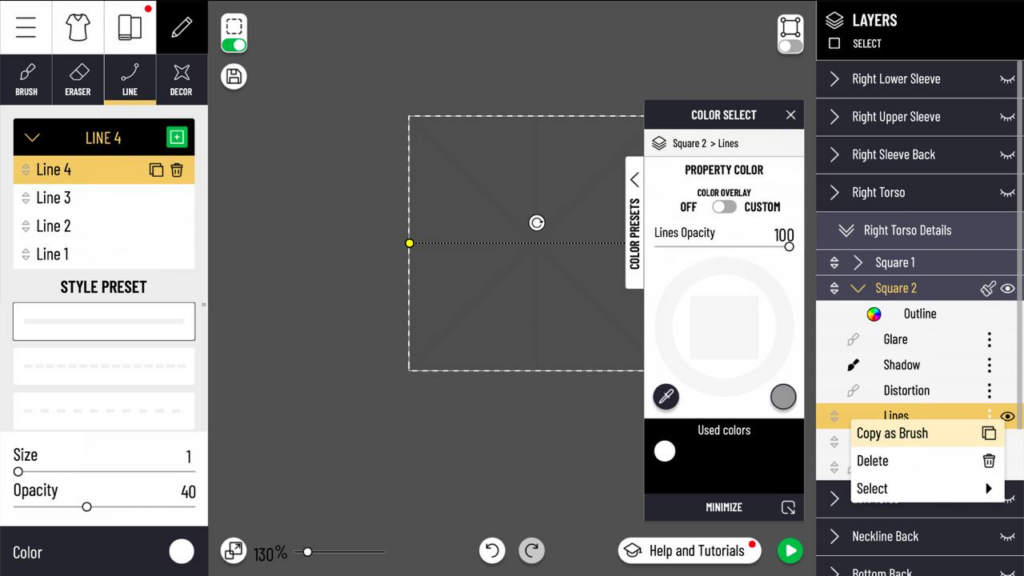
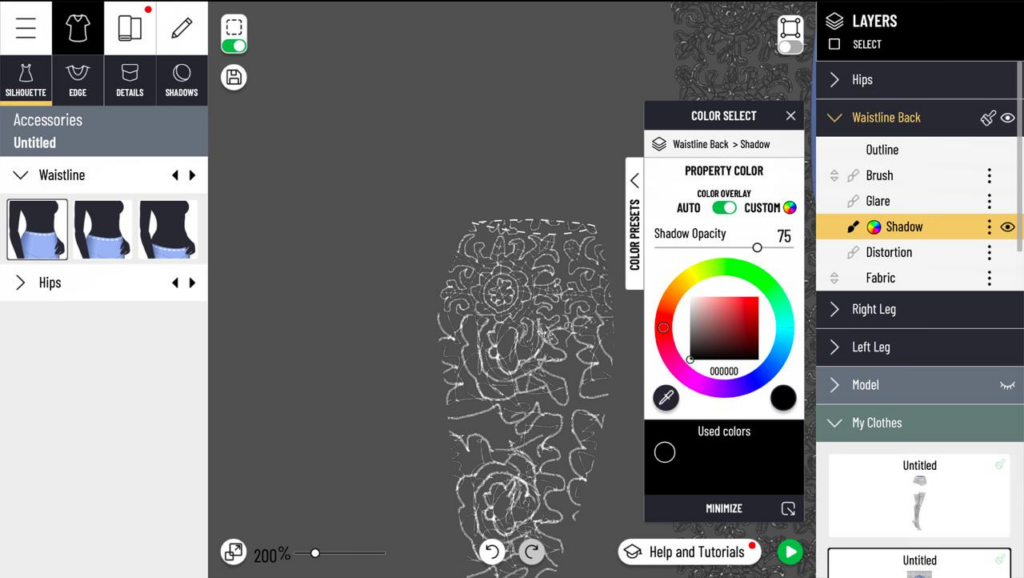
- Add a Transparent Square with an Outline
- Go to the Details panel on the left and add a second square (Square 2) on top of your base square. Change its fabric to transparent (opacity to zero), so only the outline remains. Set this outline to white for easy visibility.
- Draw Guiding Lines
- Using a white brush, draw a diagonal line from each corner to the opposite corner. Then, add vertical and horizontal lines through the center of the square to form a grid. Adjust the lines to meet perfectly at the center, ensuring symmetry.
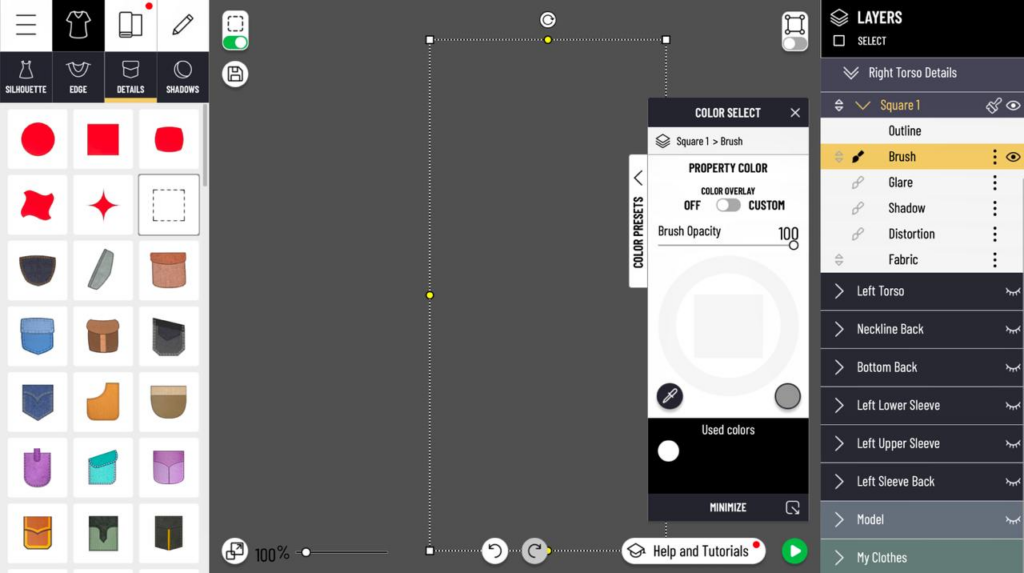
- Save the Guiding Lines as a Brush
- Copy these lines as a brush, delete the lines, and move this new brush to the top of the Layers menu.

Step 3: Begin Drawing the Lace Pattern
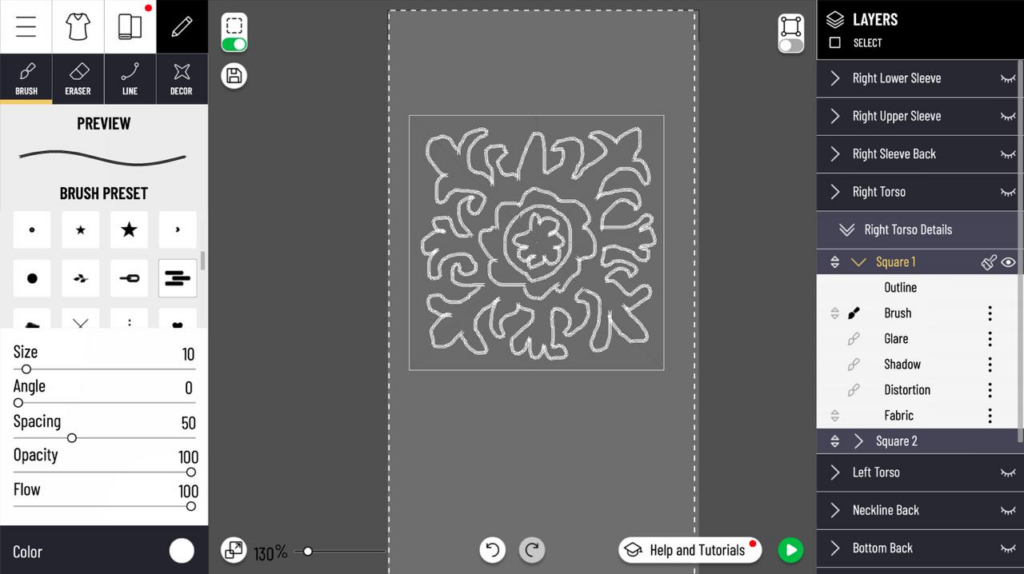
- Select a Brush Shape
- Choose a brick-shaped brush in the brush settings. Adjust the size to about 5 and decrease the interval to 50. Set the brush color to white.
- Draw the Central Flower
- Use the outline of the square as a guide to draw a central flower. Start with an inner circle, then add petals around it. These petals should be spaced evenly and connect smoothly to the flower center.
- Add Surrounding Lace Elements
- Continue adding decorative details to the lace pattern, such as three-petal shapes along each guideline from the center to the square’s edges. Connect and embellish these shapes with swirls to match your reference lace design.
Step 4: Finishing Touches and Transformations
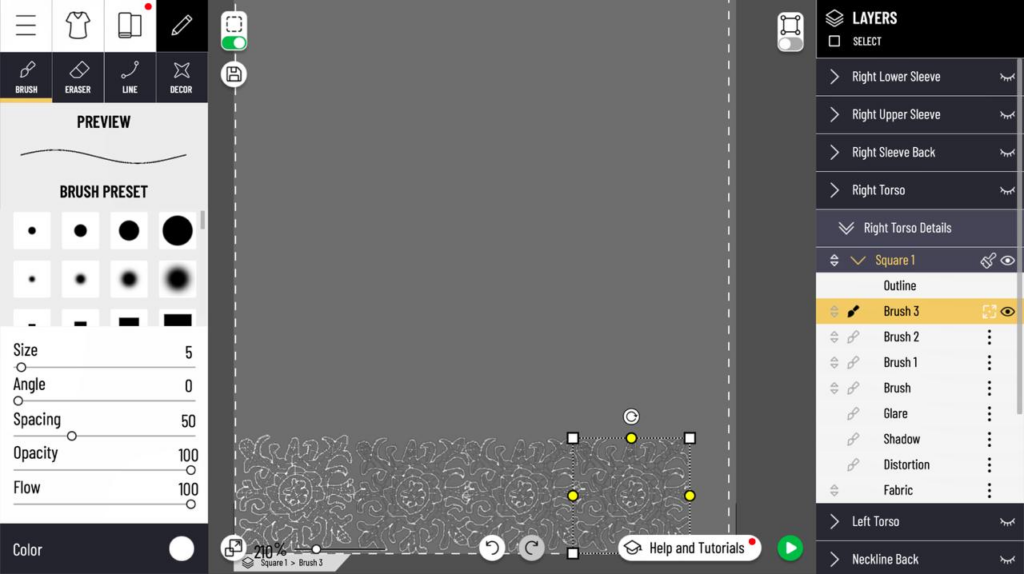
- Remove the Guiding Square
- Once your lace pattern is complete, delete Square 2 (the guiding outline). This will leave only your lace design on the base square.
- Refine Details
- Create a new, fine-tipped brush to connect the different parts of the lace design. Don’t worry too much about perfection—small imperfections add to the lace’s authenticity.
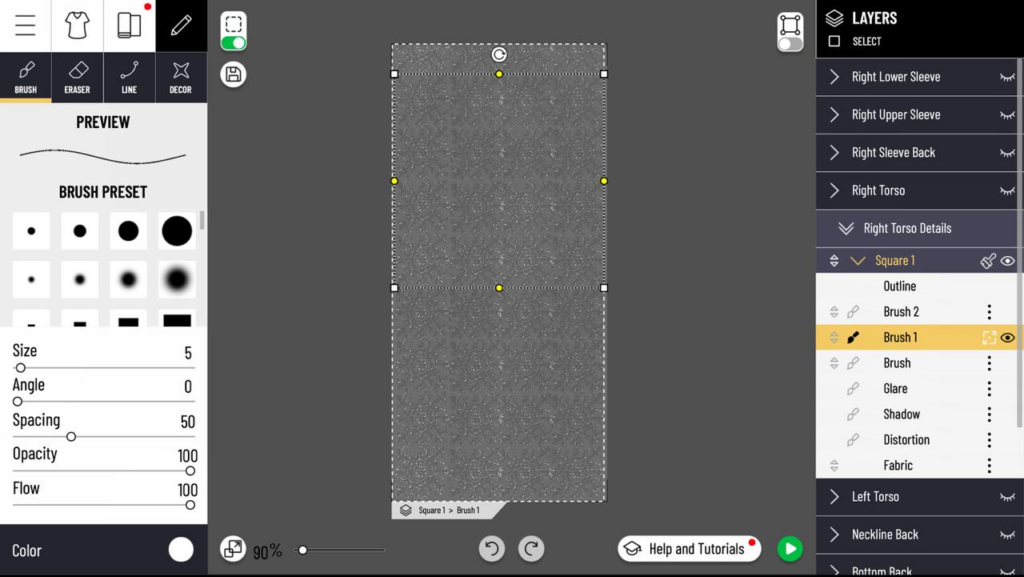
- Merge Layers and Duplicate
- Merge your lace pattern into a single layer. Copy this brush pattern and align the copies horizontally across the canvas. Then, merge the row and duplicate it vertically until the entire canvas is filled with lace.


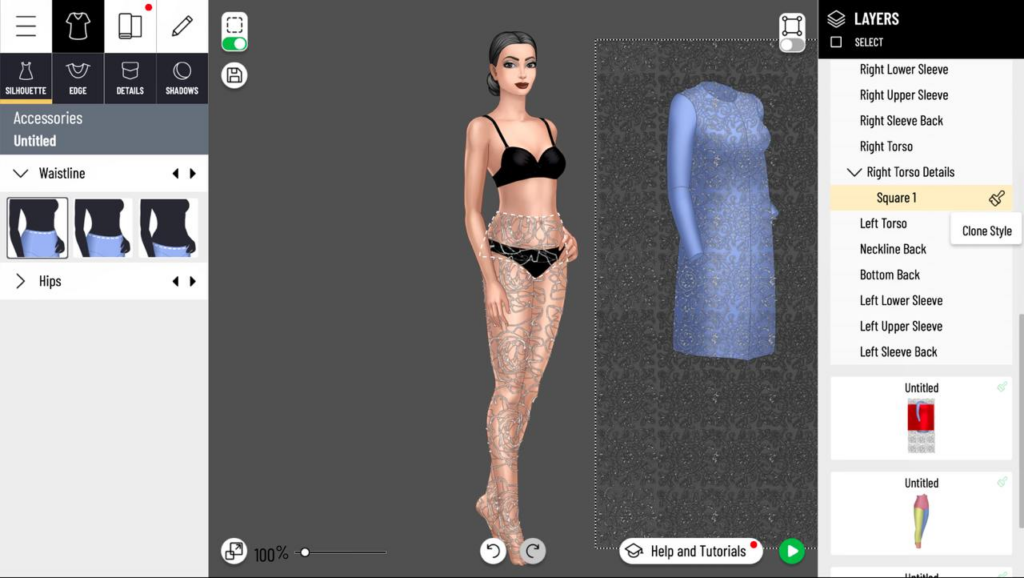
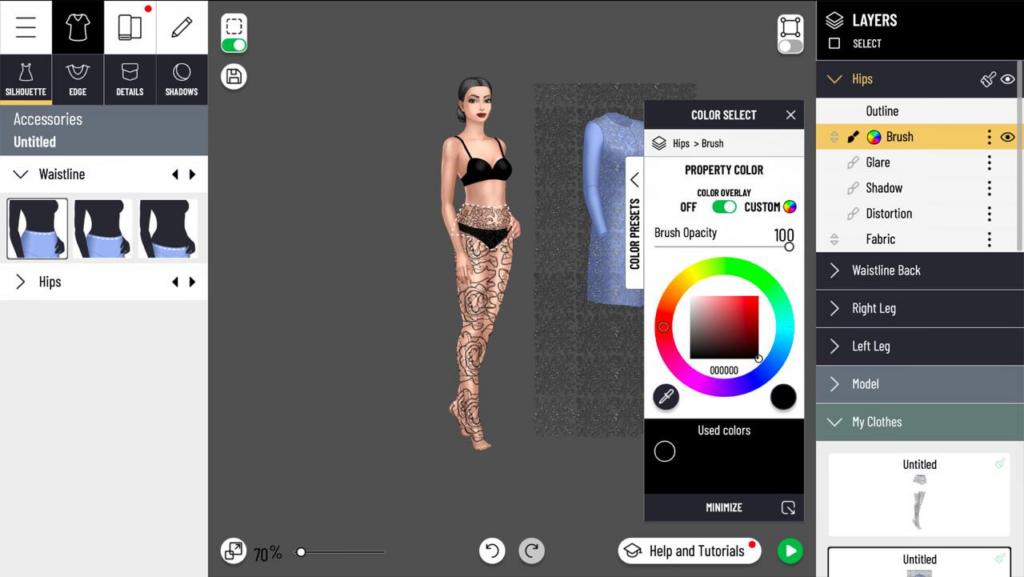
Step 5: Apply the Lace Pattern to Tights
- Save and Transfer the Pattern
- Save your lace pattern, return to My Projects, and start a new project with tights. Find the coat project containing the lace pattern and transfer it onto the tights by applying it to each leg and adjusting the size and orientation.
- Adjust for a Custom Fit
- Use the Transform tool to modify the lace’s size and positioning on the tights. Adjust for symmetry or leave a little asymmetry for a natural look.
- Enhance with Additional Effects
- To add volume or texture, try incorporating shadow, contrast, or even a touch of glitter. You can also apply a low-waist setting for the tights to allow pairing with dresses.
Final Touches
Experiment with colors, effects, and layering to create unique lace items for various outfits in Pocket Styler. While this method may require practice, it allows for endless customization.
This completes the tutorial on creating lace in Pocket Styler Studio. With this technique, you can bring intricate lace designs into your game, enhancing your creations with unique textures and patterns.
Happy designing!


